Sign Up
School Account Sign Up
Lesson ID: 13329
Turn your family research into a story, timeline, or creative project you can actually share.


Turn Your Research Into Something Amazing
Right now, your notes, interviews, and photos might feel like a pile of random clues. But here’s the truth: you’re not just collecting facts—you’re building a story.
And every great story needs structure.

Step 1: Choose Your Final Format
Before putting anything together, decide what you’re actually creating. This is the foundation of your project.
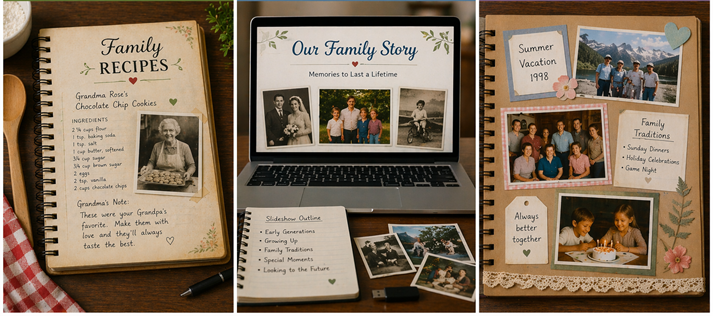
Your family history can take many forms.
A book or story – tells a narrative about your family or one person.
A scrapbook or album – combines photos, captions, and memorabilia.
A slideshow or video – uses images, text, and possibly voice narration.
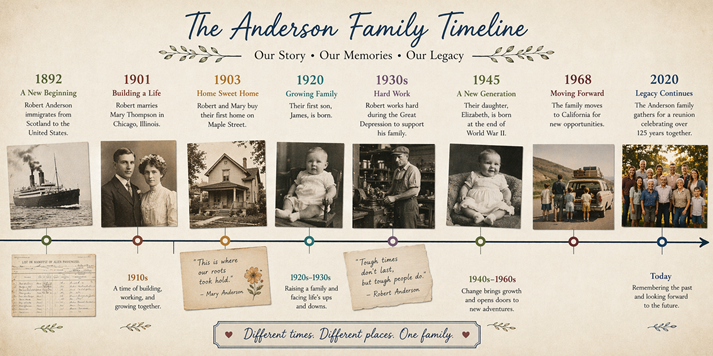
A timeline or wall display – shows events in order.
A recipe book – mixes family recipes with stories and memories.
Each format shares the same goal: to turn information into something meaningful and easy to understand.
Choose a format that fits.
The materials already collected (photos, stories, documents)
Personal strengths (writing, design, speaking, organizing)
The time available to complete the project
Step 2: Focus Your Story (Don’t Try to Tell Everything)
Trying to include every single detail is the fastest way to create a confusing project.
Instead, narrow the focus. Strong family history projects often:
Follow one person’s life.
Focus on one branch of the family.
Highlight a specific time period or event.
Trace one line of ancestry.
A clear focus makes your project easier to follow—and much more interesting.
Example:
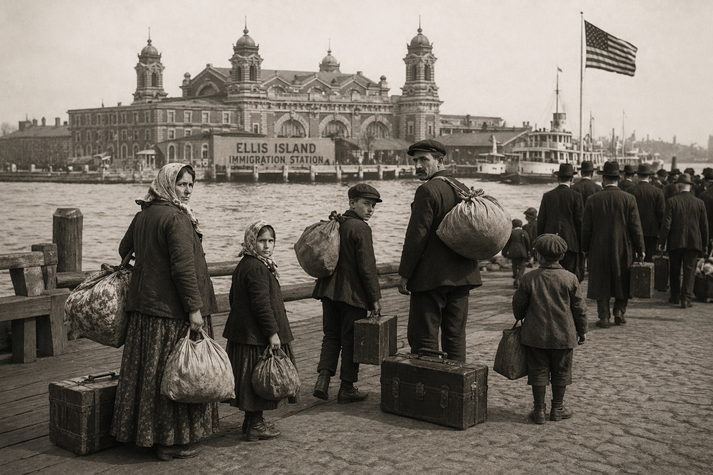
Instead of listing every ancestor, tell the story of one grandparent’s childhood or a family’s move to a new place.
Step 3: Turn Facts Into a Story
Names and dates matter—but they don’t hold attention on their own.
To make your project engaging, treat your family members like characters in a story.
What challenges did they face?
What important decisions did they make?
What was life like during their time?
Adding context—like historical events, daily life, or traditions—helps bring your research to life.

Step 4: Use Photos, Documents, and Real Evidence
Strong projects don’t just tell—they show.
Include:
Photos
Letters or documents
Maps or timelines
Captions explaining what each item shows
These details make your work more believable and more interesting to look at.
If photos are limited, add:
Drawings or recreated images
Descriptions of important places or events
Step 5: Be Selective (Yes, You’re the Editor)
Not everything belongs in the final project.
Choose the most meaningful and interesting pieces.
Important events
Memorable stories
Strong visuals
Too much information can overwhelm your audience. The best projects feel clear and focused—not crowded.
Step 6: Organize It So It Makes Sense
A great project is easy to follow from beginning to end.
The most common (and easiest) structure is:
Chronological order (time order): Start with the earliest event and move forward.
This helps your audience understand how events connect and how your family’s story unfolds over time.
Step 7: Double-Check Your Facts
Before sharing your work, make sure it’s accurate.
Confirm information using more than one source.
Compare notes with family members.
Look for records like birth certificates or census data.
Accuracy matters—you’re telling a real story.
Step 8: Make It Something People Want to Explore
The goal isn’t just to finish—it’s to create something people will enjoy.
Strong projects:
Are easy to read or view.
Include visuals and stories.
Feel personal and meaningful.
Even something simple can be powerful when it’s clear and thoughtful.

Ready to Put It All Together?
Now that the process is clear—choosing a format, focusing your story, organizing your information, and presenting it in a meaningful way—it’s time to start applying these skills.
Next, practice organizing and evaluating your information so your final project is accurate, clear, and ready to share.

Supplies
Additional Resources
Suggested Reading


