Sign Up
School Account Sign Up
Lesson ID: 11172
Bring your narrative to life by preparing it for readers! Learn how to publish your story with neat writing, illustrations, and a creative cover that shows off your hard work.


The Grand Finale
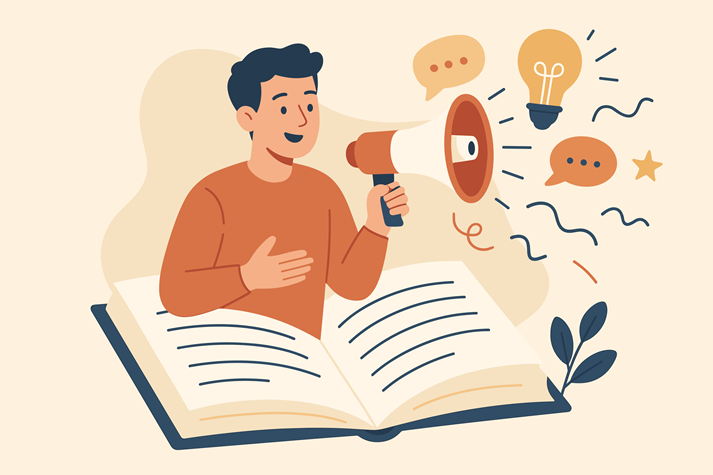
You’ve spent time crafting, revising, and perfecting your writing—now comes the best part: sharing it!
Publishing is when your story leaves your notebook and steps into the world for others to enjoy. It’s your moment to say, “I made this,” and take pride in what you’ve created.
Think of publishing like putting the finishing touches on a masterpiece.
A painter doesn’t hide their art—they hang it in a gallery. Musicians perform their songs for an audience.
As a writer, you publish your story so readers can connect with your imagination, your ideas, and your voice.

What Does It Mean to Publish?
To publish means to prepare your writing so it’s ready to be shared with others.
You’re not rewriting your story—you’re polishing how it looks and feels so people can read and appreciate it easily.
Publishing can take many forms: typing your story, writing it neatly by hand, or even creating an illustrated book. The goal is to make your work look professional and ready for your audience.
When you publish, you’ll:
Re-read your story one last time to catch any lingering errors.
Present it neatly, either typed or handwritten in your best handwriting.
Add illustrations or images that match your story.
Create a cover that includes a title, your name, and an eye-catching design.
Step 1: Give It a Final Read
Before you share your story, give it one more read-through—out loud if possible. Ask yourself these questions.
Does it sound the way I want it to?
Are there any last mistakes I can fix?
Does the story flow smoothly?
If something feels off, make small adjustments now. This is your final chance to make your story shine before you share it.

Step 2: Choose How You’ll Present It
Now decide how you want to publish. You can:
Type it using a computer or tablet for a crisp, professional look.
Write it neatly by hand in your best handwriting if you prefer a personal touch.
As you copy or type, make sure to include all the changes you made during revising and editing. Each word should be clean, clear, and in its final form.
Step 3: Add Illustrations
Pictures can bring your story to life. If your story has strong emotions, action, or setting, add illustrations that match the mood or events.
Tips for great illustrations.
Keep them neat and detailed.
Use colors that match the tone of your story.
Make sure your drawings or images clearly connect to what’s happening in your writing.
Your goal is to make readers feel like they’re stepping right into your story.
Step 4: Create a Cover Worthy of an Author
Every published book has a cover—and now yours will, too!
Your cover should include:
A title (3–5 words that capture the main idea of your story).
The author’s name—that’s you!
A colorful, detailed illustration that catches the reader’s attention.
Example
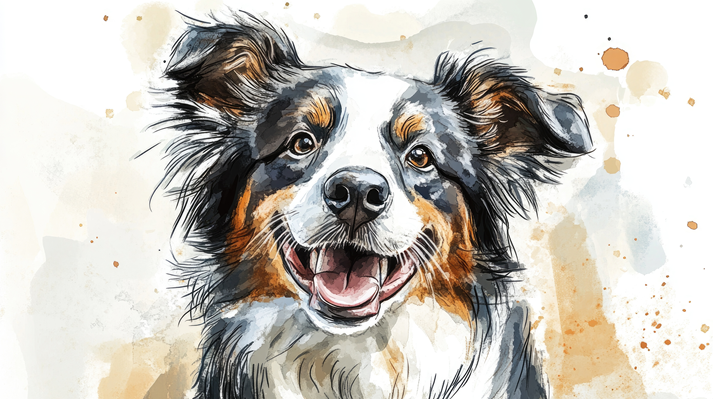
If your story is about the day you got a new dog, your title could be The Day I Got Fluffy. Then add a drawing of your dog and your name below it.
A strong cover tells readers, “This story is worth opening.”
Step 5: Share Your Work
Once your story looks its best, it’s time to celebrate by sharing it! You can:
Present it to your class, teacher, or family.
Display it in a school or home “author corner.”
Create a digital copy and email or print it for others.
Add it to a writing portfolio or binder to track your progress as an author.
Sharing your writing builds confidence and inspires others to tell their own stories. Remember—every author’s first published story started just like this!

Quick Recap: Your Publishing Checklist
| x | Read your story one last time for small mistakes. |
| x | Copy or type your final version neatly. |
| x | Add clear, colorful illustrations. |
| x | Create a strong, detailed cover. |
| x | Share your finished piece proudly! |
You’ve learned how publishing turns your story into something real—a finished piece of art that represents your voice and creativity.
In the Got It? section, you’ll practice preparing a story for publishing by organizing its final touches and designing your own book cover!

Supplies
Additional Resources


