Sign Up
School Account Sign Up

Lesson ID: 13010
Turn your finished writing into something ready to share! Learn how to design, polish, and publish your work so others can enjoy it.




Bring Your Writing to Life!
Imagine you’ve written something incredible—maybe a short story, a comic, or a guide to training dragons (hey, someone has to do it).
It’s polished, it’s powerful, and it’s yours. But here’s the big question: how do you take your work from your notebook to the world? That’s where publishing comes in.
Publishing is the final step in the writing process—the moment when your words are ready to be seen, shared, and celebrated. It’s like turning a secret sketch into a piece of art for everyone to enjoy.

Even young writers have become published authors—sometimes before high school!
Writers like Jaquelle Crowe and Atua Moy started sharing their ideas early and found creative ways to bring their books to life. Publishing doesn’t require fame or fancy connections; it just takes effort, imagination, and the courage to share your voice.
How to Publish Like a Pro

Step 1: Prepare for the Spotlight
Before anything goes public, reread your final draft. Fix any last-minute typos, check your punctuation, and make sure your sentences sound smooth and clear.
Publishing means your work represents you—so make sure it says exactly what you want it to.
Step 2: Choose How to Share
Not every writer publishes in the same way! Here are a few paths.
Printed books: Authors who work with publishing companies or self-publish online can print their stories as real books.
Digital books (eBooks): These can be read on tablets or phones and shared worldwide in seconds.
Online platforms: Websites, blogs, and writing contests often let you post your work for free.
School publishing: Teachers sometimes “publish” student writing by printing classroom anthologies or sharing work in school newsletters.
Each method has its own perks, so pick one that fits your goals and audience.
Step 3: Make It Look Professional
Publishing isn’t just about words—it’s also about presentation! Use neat handwriting or type your work in a readable font.
If you’re making a physical copy, design a clean layout with proper margins and spacing.
Then comes the fun part: illustrations and cover design.
A good cover makes people want to read your story. It should include:
A catchy title (three to five words is perfect)
Your name as the author
A colorful image that fits your story’s tone
Remember, your cover gives the first impression—make it count!

Step 4: Share Your Work with Confidence
Once your masterpiece is ready, it’s time to release it into the wild.
Here are a few ways to share your finished piece.
Read it aloud to family or classmates.
Post it on a classroom blog or community writing site.
Print and bind your story to make a personal “book.”
Submit it to a writing contest or youth publication.
The best part? Publishing isn’t about being perfect—it’s about being brave enough to share your ideas.
Every author starts somewhere, and every story deserves an audience.
Step 5: Celebrate Your Work
Publishing your writing is an achievement worth celebrating! You’ve gone through brainstorming, drafting, revising, and editing—and now you’ve created something that’s entirely yours.
Hold your “book” in your hands (even if it’s just stapled pages), sign your name proudly, and take a moment to appreciate your creativity.
You’re not just a writer anymore—you’re an author.
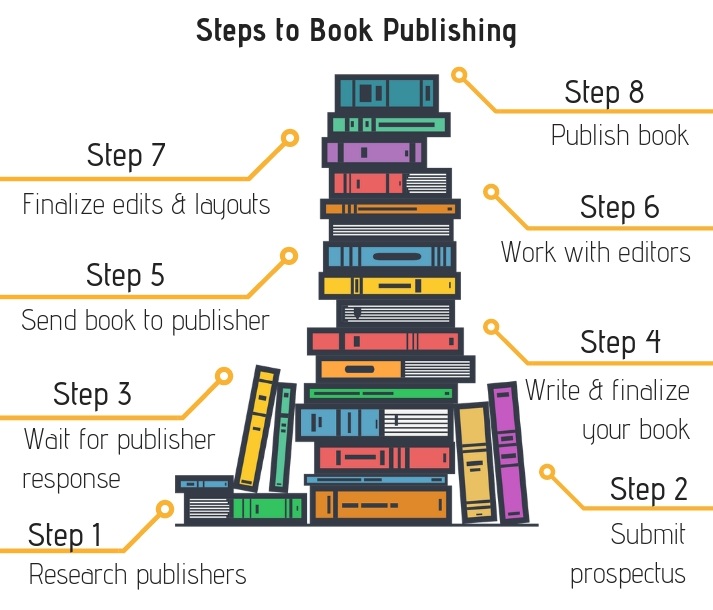
Now that you know how writers share their stories with the world, it’s your turn to get your work ready for readers!
In the Got It? section, you’ll get to plan, polish, and present your own published piece.

Supplies
Additional Resources




 FAVORITE
 Like
Like